Have you heard? There’s a new way to claim rebates on your next shopping trip. Amazon released Alexa rebates, which are available through Amazon’s Alexa app. You can use these rebates to shop at whatever store you want, but your rebates will be issued via digital Amazon gift cards, loaded onto your Amazon account.
Now, figuring out how to use Alexa rebates isn’t completely intuitive. You’ll have to navigate through a maze within the app to find and claim them and ensure your receipt is up to Amazon’s submission standards.
That said, it can get you some big money back on items you were going to purchase anyway. It’s definitely worth pursuing despite the challenges. Plus, today I’ll be serving as your navigational guide so you can get all the money back in your pocket.
Download the Krazy Coupon Lady app or text HACKS to 57299 for even more savings hacks.
1. Download the Alexa app to access Alexa rebates.
First, you’ll need to download the Alexa app. Then, sign in with your Amazon account and set up a few preferences before getting started.
2. Create a shopping list on the Alexa App to access savings.
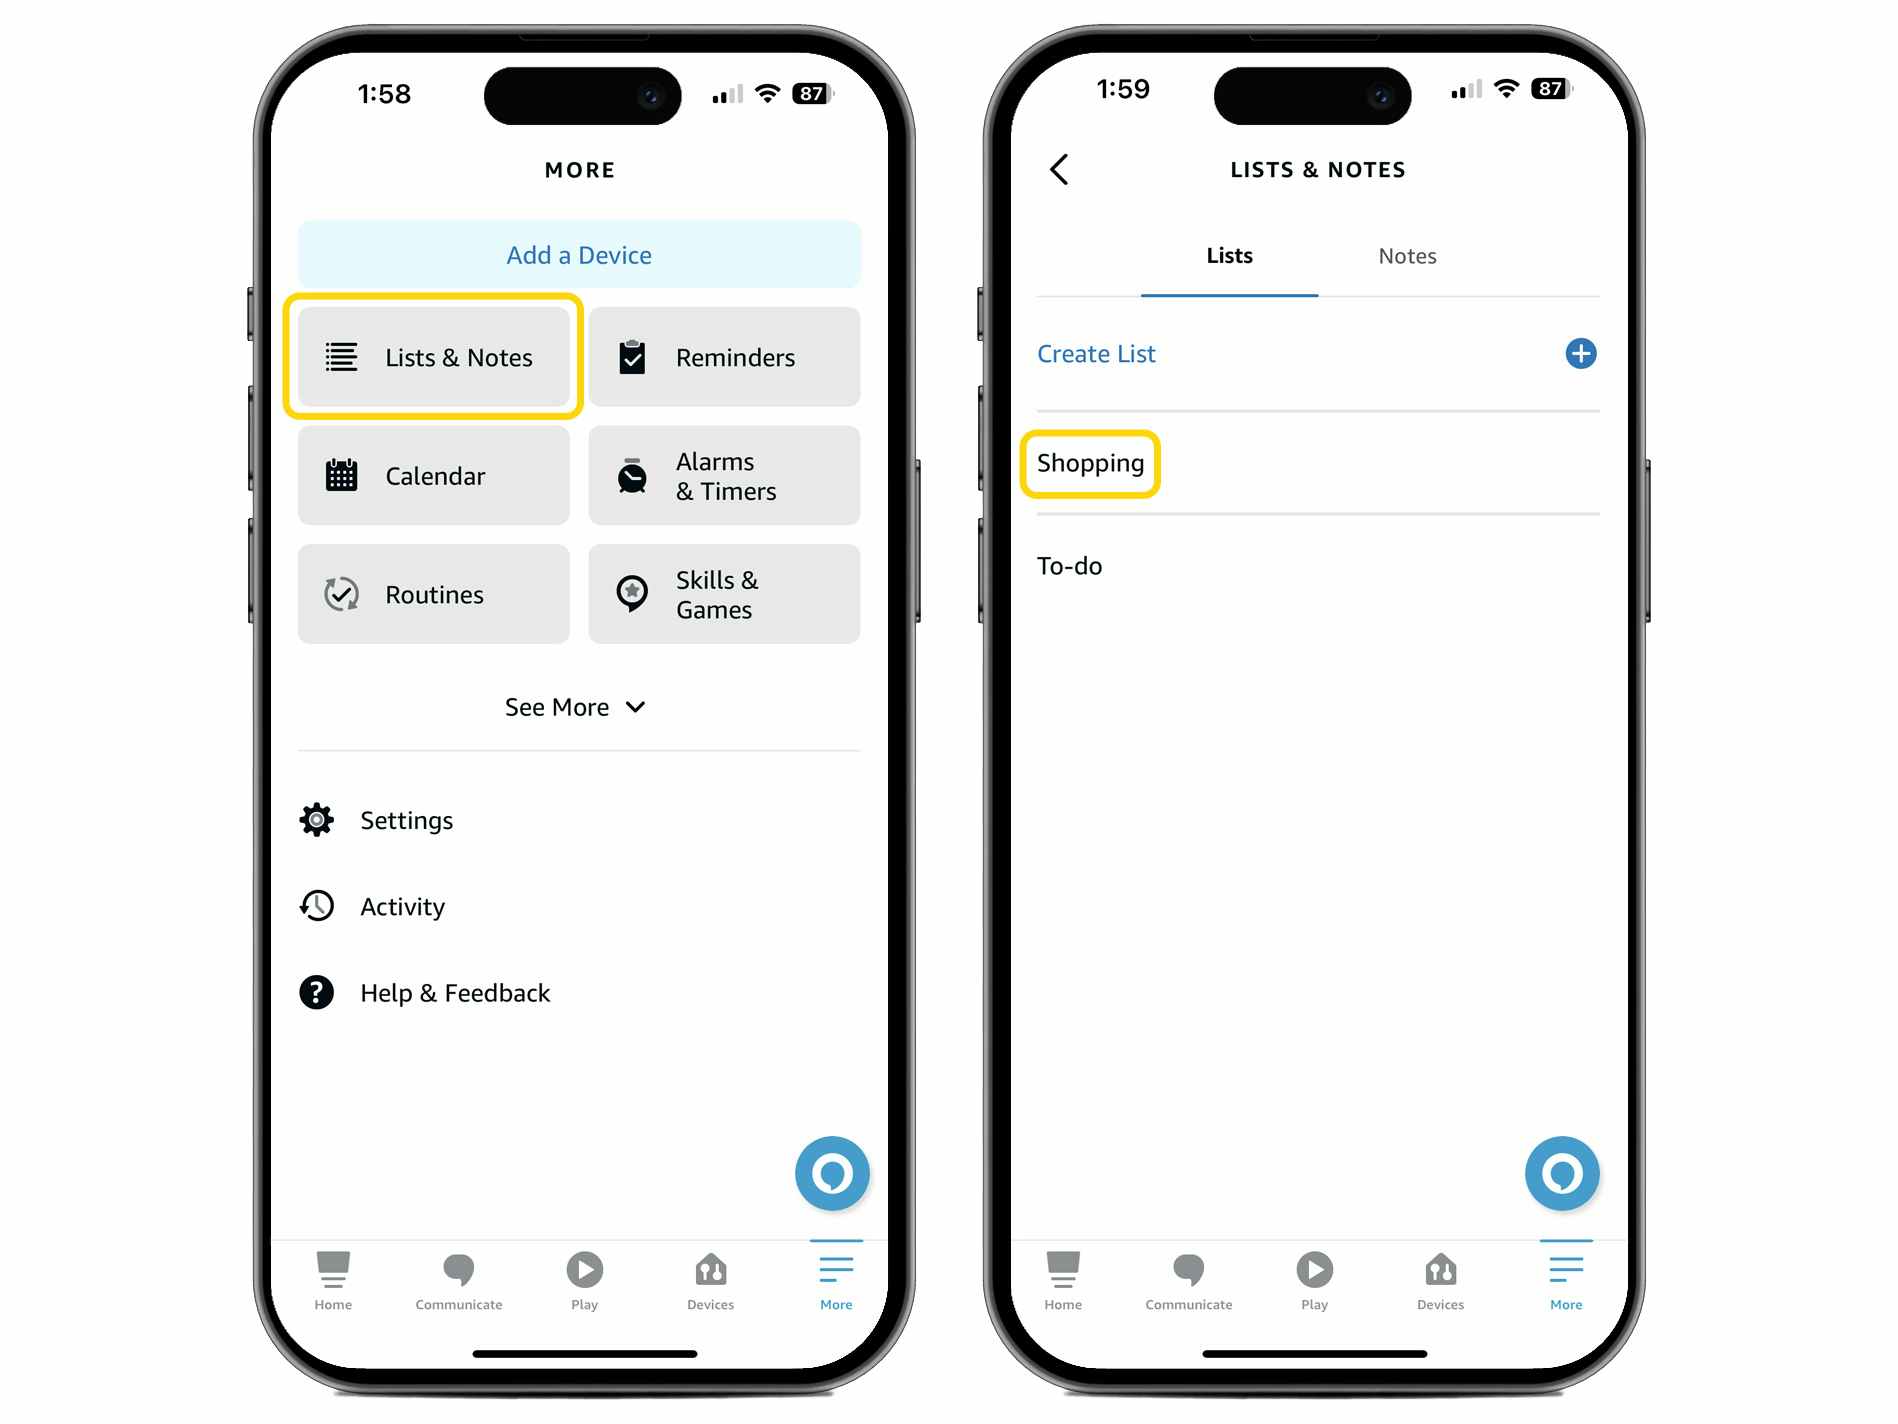
Next, you’ll need to create a shopping list. You get this process started by clicking the “Lists & Notes” option and selecting “Shopping.” You can use voice controls to add items to your list to make the process easier.

Once you have items added to your shopping list, a blue “Deals” button will pop up in the top navigation bar. That’s where you can start accessing Amazon Alexa rebates.
3. Activate the rebates by clicking on the blue plus sign.

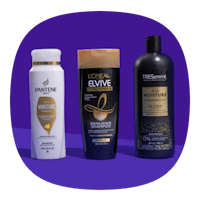
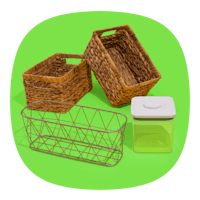
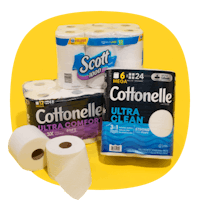
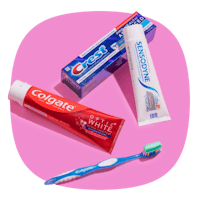
When you click the “Deals” tab, the Alexa app will bring up all the available rebates. The selection isn’t as large as what you’ll find on KCL’s food coupons page, but there are somewhere between 100 and 130 offers at any given time across the following categories:
- Breakfast and cereal
- Baking and cooking
- Pasta and noodles
- Frozen
- Household
- Snacks
- Dairy
- Personal care
- Healthcare
- Pet care
- Beverages
- Other
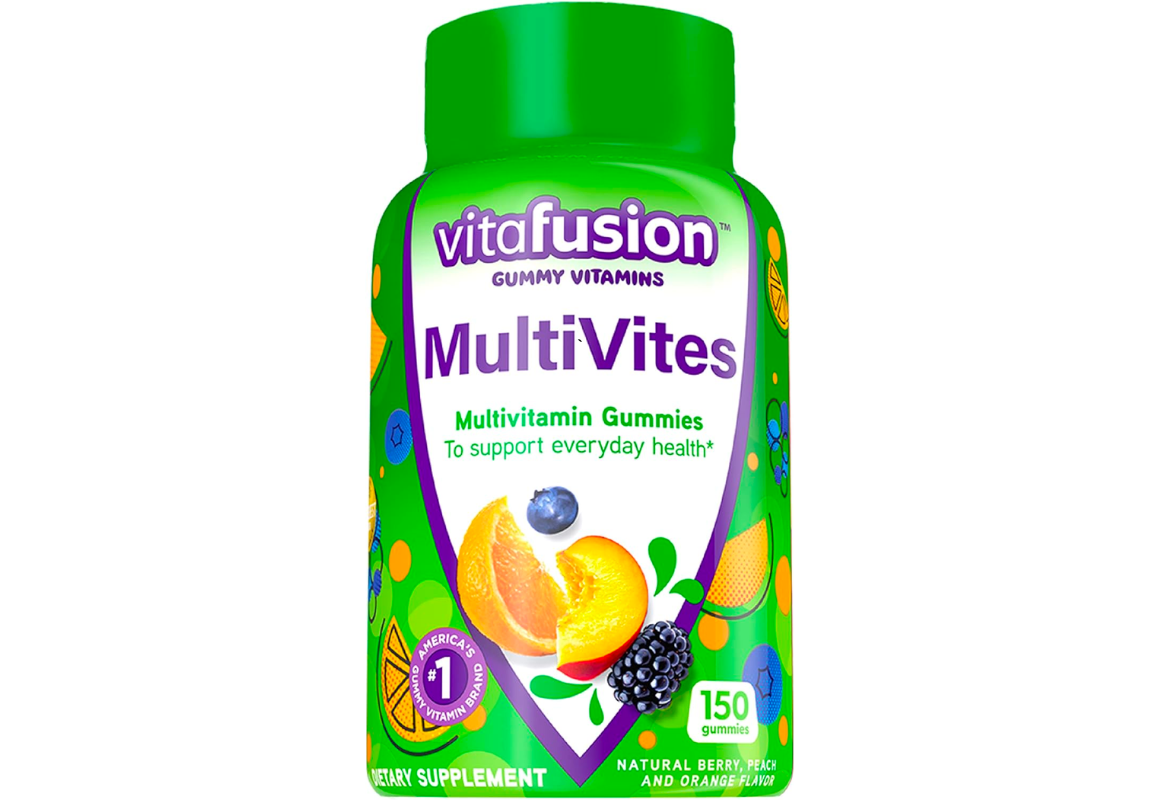
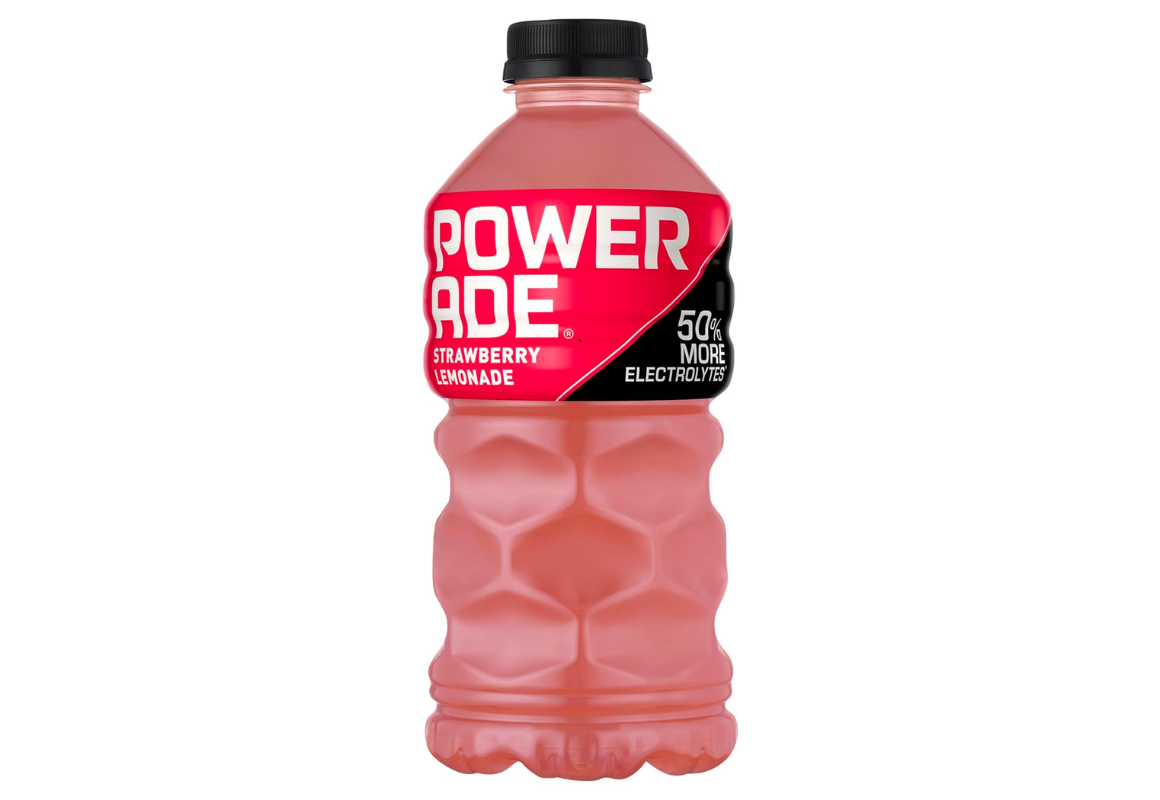
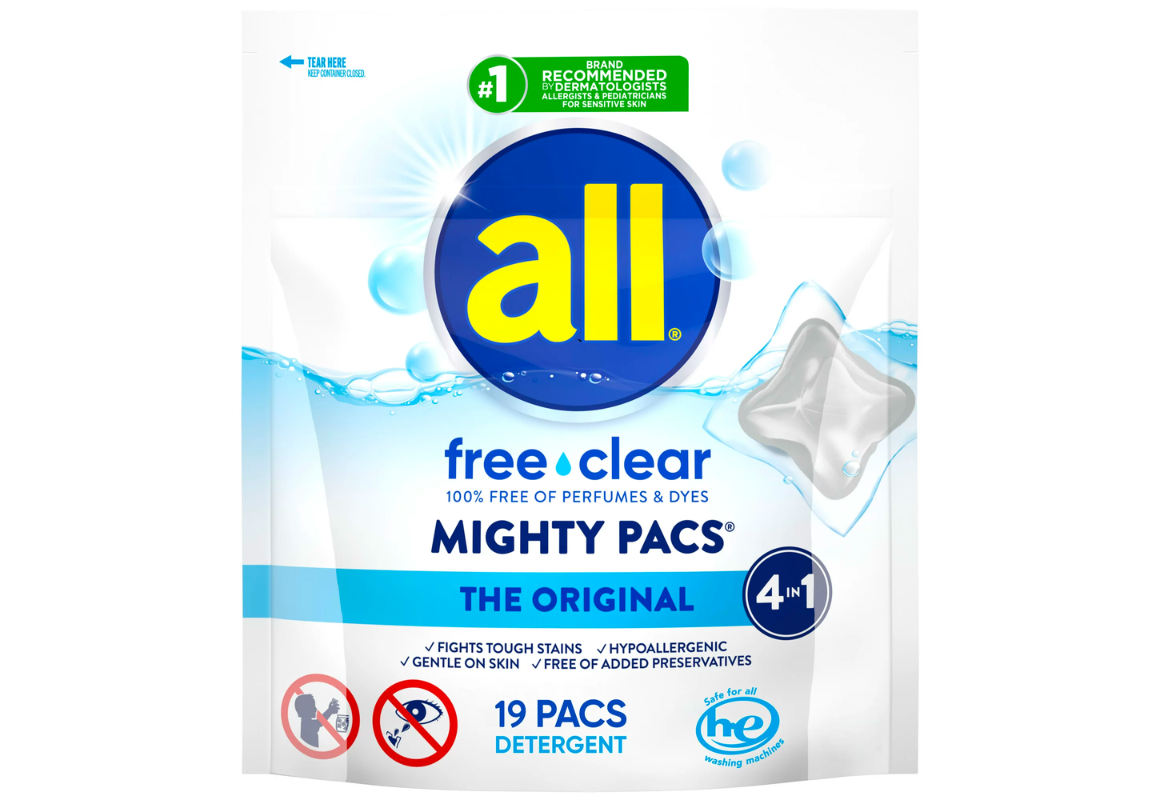
To add it, you simply click the blue plus button. You can also expand the rebate offer to read the fine print and activate it. Here are some examples of Amazon Alexa rebates in action:
4. Note that every rebate offer comes with fine print.

Just like the coupons they’re originally sourced from, these rebate offers come with fine print. For example, this one for Crest toothpaste could only be used at Target. If you haven’t already pressed the blue plus button to add the deal to your account, at this point, you’d press “Activate Deal.”
5. You don’t have to shop on Amazon to access Alexa rebates.

You’ll find that the rebates are eligible to be redeemed at various big box retailers and grocery stores. Of course, if the rebate specifies that it’s only available at Target, then you have to shop at Target. But other than that, you’ve got free reign to shop at whichever grocer or retailer you’d like.
6. Claim your offers by scanning your receipt.

To redeem your rebates after you shop, open your shopping list and press “Savings” again. The offers will pop up, but right next to that you’ll see a tab that says “Get Paid.” That’s where you want to be.
Click on “Redeem Offers” and scan in your receipt. Your receipt will have to show:
- Store name
- Product info
- Price
- Date of purchase
If you’ve got a long one, you can submit multiple pictures to capture all of the relevant data.
7. Keep in mind that you can’t use digital receipts.
In recent months, my local grocer has stopped issuing paper receipts and only issues digital ones. (I also use curbside for Target, where I ran into the same issue: no paper receipts).
Unlike the Amazon Shopper Panel program — which pays you $10/month for scanning 10 non-Amazon receipts — Alexa Rebates doesn’t accept digital proof of purchase.
I tried submitting my digital receipt to claim my Alexa rebates, but no dice. I was so disappointed as I missed out on $11 in rebates that were expiring that same day! Learn from my mistake rather than repeating it.
8. Use your app to scan your items so you can successfully submit your claim.

Once you submit your receipt, you’re not done. You’ll need to scan in the bar code for each item with an offer. It’s all done in-app and is super easy, but you might want to do this step before you unpack your groceries for the sake of convenience. If there’s more than one offer for a product, you’ll have to select which one you want to claim.
9. It can take 24 hours to a couple of days for Amazon to verify your claim.

Once you’ve scanned in all the items from your shopping trip, you’ll submit your claim. Make sure you’ve scanned in all the items for all the offers you want to claim on a single receipt. Note that each claim goes by receipt — not individual rebate offers.
As long as there’s no problem with your receipt, you should see your rebates issued via digital Amazon gift card to your Amazon account within 24 hours. If there are issues with your receipt, it can take a couple of days for Amazon to review it and reject your submission.
10. Enjoy your Amazon credit!
All the rebate money you receive can be spent on Amazon. You could use it to splurge on something indulgent, but I’d recommend using your Amazon credit to offset the costs of spending you were already planning on. That way you’re truly saving money. Not just getting ‘free’ stuff you don’t actually need.











Tell us what you think