There’s nothing worse than building a garden and realizing you spent about $10 a tomato, right? It’s totally doable to build cheap DIY raised garden beds or container gardens, and I will show you how.
If cost has ever stopped you from building your own garden of delicious vegetables, herbs, and fruits, it shouldn’t. Here’s how to build a DIY raised garden bed for your veggies or herbs. The costs will vary depending on material costs and plants, and what you can find for FREE.
Disclaimer: While the items listed below were available online at the time of publication, inventory and sales may vary by location for both online and in-store purchases.
Download the Krazy Coupon Lady app for the latest coupons and deals.
1. Find raised garden bed kits on sale at Home Depot for around $30 or less.

If you’re going this route, then Home Depot is the best place to find raised garden bed kits — sometimes as low as $30. While the wood boards aren’t included, you’ll get the screws, connectors, and spikes.
Prices dip even lower during seasonal sales. Always check sale prices during Home Depot’s Spring Black Friday and around holidays like Memorial Day, Fourth of July, and Labor Day.
Find the latest coupons and sales on KCL’s Home Depot store page.
2. Build a cheap DIY raised garden bed with free large containers through local recycling programs.

Another inexpensive raised garden bed idea is using recycled containers for planting. I prefer this method of planting because it is (frankly) easier, takes up less space, and I personally think it looks nicer, too. Bonus: no weeds!
Vegetables and large herbs will do best in a pot that is at least 12 to 18 inches tall. For some reason, nursery pots and planters are weirdly expensive. Like, why would I pay $15 for a hunk of plastic?
You can sometimes find free planters through Home Depot’s recycling program, which allows people to return plastic pots and trays to their garden center to be properly disposed of. You can also ask an associate at Lowe’s Garden Center if they have any containers to spare. Or, check to see if there is a Freecycle community near you; the site is for giving away, finding, and trading free stuff.
Container gardens are great for veggies like zucchini, kale, peppers, cucumber, and lettuce. However, they’re not so great for plants that will grow super-tall or for root vegetables like carrots, ginger, or sweet potatoes that grow underground and need deep soil.
PRO TIP: Place the planters in the sunniest corner/spot in your yard. Or, in the case of indoor herbs, on a windowsill.
3. For microgreens and small herbs, buy small clay pots for about $1.

If you really want to learn how to build a raised garden bed cheaply, think about downsizing into mini versions or adding variations around your larger bed. A two-pack of 3.5 in. Terra-Cotta Clay Pots from the Dollar Tree is just over a buck. Sizes may vary in stores, but they’ll always be in that price range.
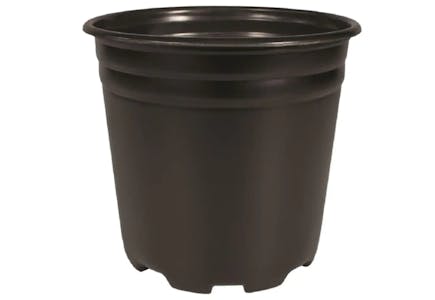
Home Depot also sells simple, self-draining one-gallon plastic pots — 6 1/2 inch deep and 7 inches tall — for $1.48. These stores are better priced than Amazon’s clay pot options because they’re sold in multi-packs.
PRO TIP: Make sure you don’t put your pots where they can’t drain without ruining something. I put some pots on my tile deck and didn’t realize that the runoff was staining the tiles.
4. Or, get super creative building your own raised garden bed from plastic liter bottles.

Does it look and act like a container? Then it can probably be one! DIY pots can be nearly anything: buckets, baskets, reusable grocery bags, plastic bottles, PVC pipes, tires…you name it.
You may find something like this lying around your house or garage. But if you don’t already have something like this, you can also peruse JOANN and Michaels — especially during a sale! — to find other fun, unconventional containers for just a few bucks each. Definitely cheaper than buying a brand-new planter.
Just make sure the container is sturdy enough to hold lots of water and soil for months at a time and has drainage holes so that the excess water can run out. Plants don’t like having their roots all soggy.
5. Buy cheap DIY raised garden bed accessories like pots and stake lights from Dollar Tree.


To piggyback on Tip 3’s suggestion to buy inexpensive pots, Dollar Tree does Pick & Pack home delivery orders (for a charge) or ships items straight to your local Dollar Tree for free in-store or curbside pickup.
The store’s online inventory requires bulk quantities to be eligible for online purchasing, but there are still some great deals on garden tools and accessories.
Here are other cool Dollar Tree items to decorate or build a cheap raised garden bed:
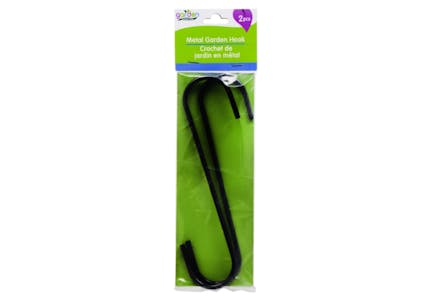
- Garden Collection Metal Garden Hooks (2-ct), 8 in., $1.25 each
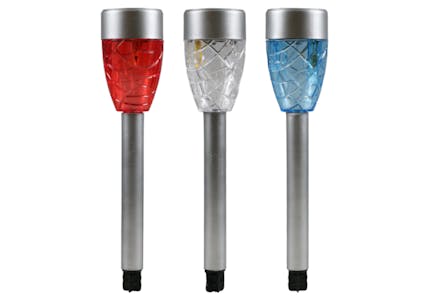
- Garden Collection Silver Honeycomb Solar Stake Lights, 14×2.5 in., $1.25 each
6. Find raised garden bed soil from Lowe’s or Home Depot for less than $8.

When it comes to growing, well, anything, it’s all about the soil. You have to purchase the right raised garden bed soil for your plants to thrive.
You can find cheap mulch, compost, and potting and garden soil from home improvement stores pretty much year-round, but don’t be afraid to buy soil on sale! The best outdoor sales usually happen on holidays — Memorial Day, Fourth of July, Labor Day, and Veterans Day.
Check out the kind of deals available at The Home Depot Spring Black Friday sale and the Lowe’s Spring Black Friday event.
Here are some current examples of good prices:
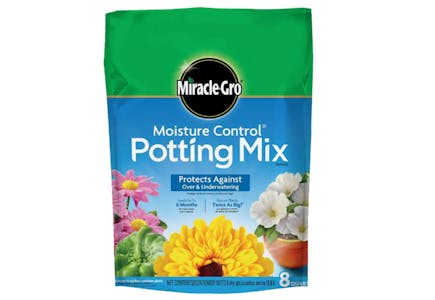
- Miracle-Gro Moisture Control 8 qt. Potting Soil Mix from Home Depot: $6.97
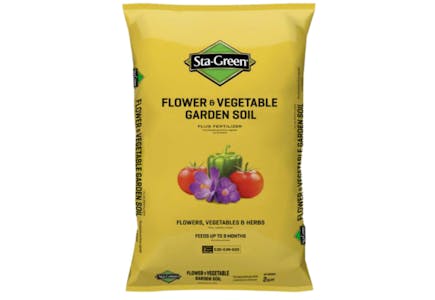
- Sta-Green 2-cu ft Garden Soil from Lowe’s: $7.98
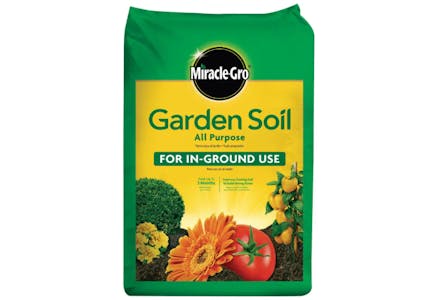
- Miracle-Gro All Purpose Soil for In-Ground Use from Home Depot: $4.57
PRO TIP: If your soil is still healthy (i.e., no huge insect or fungus problems), you can save it and reuse it for next year. Just remember to fertilize!
7. Get free compost, mulch, or fertilizer for your DIY garden bed from your city.

Many cities and counties have compost, mulch, and fertilizer that residents can pick up for free. The mulch isn’t really suitable for growing veggies, but some cities do have organic compost suitable for a raised garden bed.
Either way, check with your county or city to see if they have any public programs like this. Websites like Recycle By City and Compost Now are great resources to start with.
Have you heard of worm tea? It’s not an Arnold Palmer mixer! Worm tea is basically water and worm poop mixed together. Yes, gross, but it’s full of phosphorus, potassium, calcium, and nitrogen, making it an excellent natural fertilizer.
You can buy premade worm tea or buy worm castings to make your own. Some cities have programs where they sell or give worm castings away for free.
8. Grow new vegetables and herbs from leftovers you already have.

For first-timers, the easiest vegetables to grow include lettuce, potatoes, green onions, peppers, and tomatoes — all of which can also be grown from scraps or seeds! Depending on the food scrap, you can cut off the plant’s base or add the washed and dried seeds to a pot of soil. Add water and let a little sunshine in before the vertical magic begins.
When it’s time to repot your plants, think about your raised bed vegetable garden layout to determine which ones are best suited next to each other. If you need help with keeping your veggies alive and getting rid of pesky bugs, check out some genius gardening hacks.
9. Get free seeds for your raised garden bed from the government.

In an effort to restore pollinator populations — like bees and butterflies — there are government agencies that offer free seed packs. What’s better than free seeds to start your raised bed vegetable garden?
Here are a few resources to monitor:
- The Alt National Park Service (not the official NPS) offers free seed packs. To get yours, fill out the request form, and note whether you’d like Black-Eyed Susans or Butterfly Milkweed seeds.
- The USDA’s National Plant Germplasm System allows you to search for and receive seeds as long as you state that it’s for research or plant breeding; otherwise, the request is denied. After you find your desired seed through the database, click on the Accessions column, add it to your cart, and check out. A New User account with an email address is required.
10. Save on your water bill by collecting rainwater to hydrate your garden bed.

When you’re building your own raised garden bed, the least of your worries should be how to water it. Think smarter, not harder, when it comes to free sources of water.
Simply put a pot, cup, or bucket outside, and let that precipitation come to you. Be sure to cover it with a piece of scrap wood when it’s not raining or you’ll get mosquitoes! Or, put a bucket under the stream in your shower to catch all the water that gets wasted as you lather up. Smart, and cost-effective.
11. Invest in the right wood for your garden project.
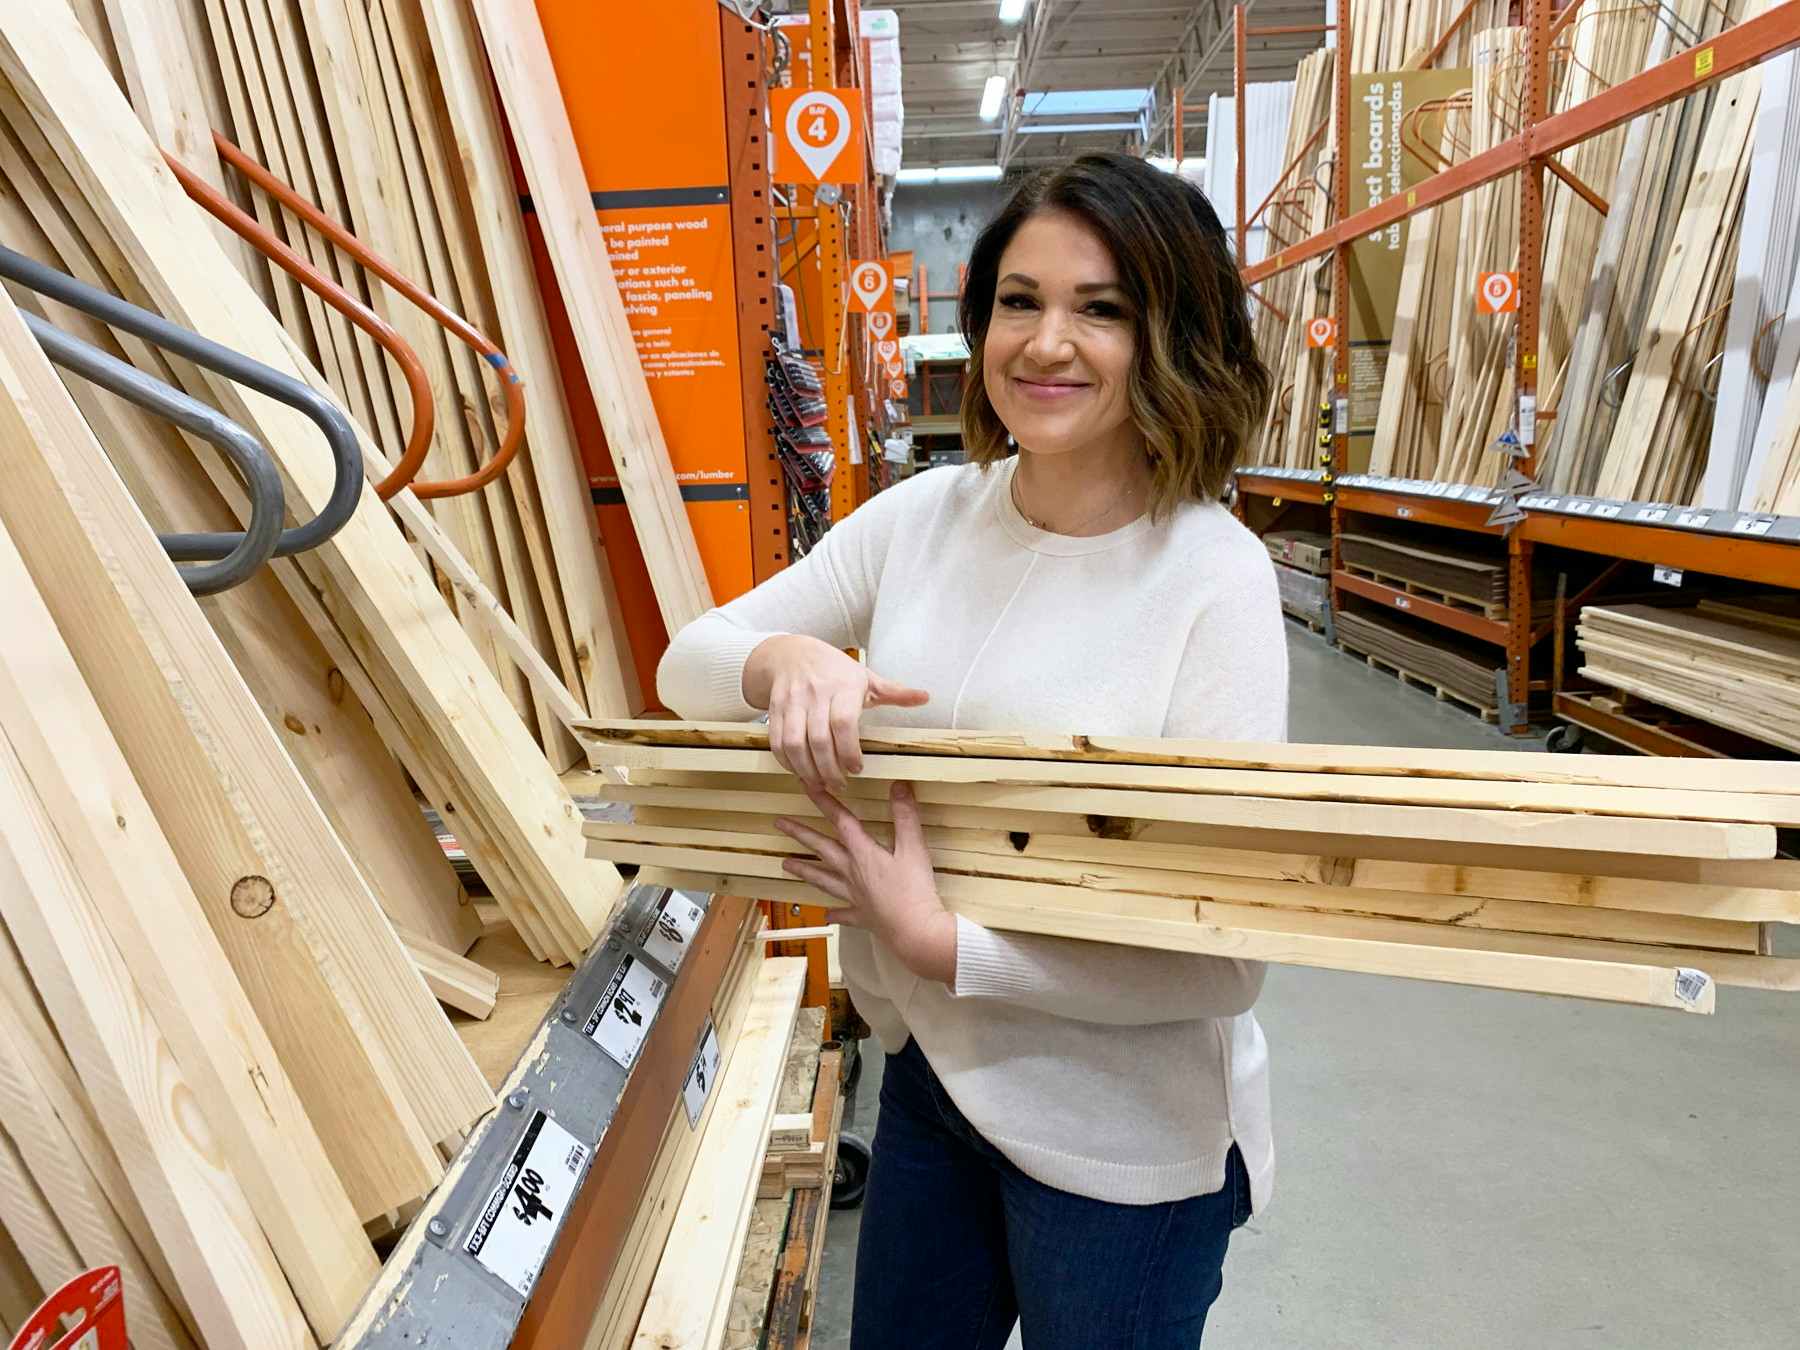
I’ve covered inexpensive supplies, free seeds and water, and which stores have the best sales. Are you ready to finally learn how to build a raised garden bed yourself?
Kits are helpful, but you’d be surprised how easy it is to assemble and customize. In addition to the wood for the box, you’ll need wood corner supports to help well support the raised garden. The length of the supports will match the depth of the box (divided into 4 pieces).
Let’s talk wood:
- Redwood and cedar are best, as they are rot and water resistant. But, they can be costly and difficult to find.
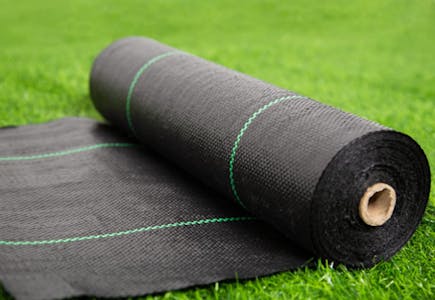
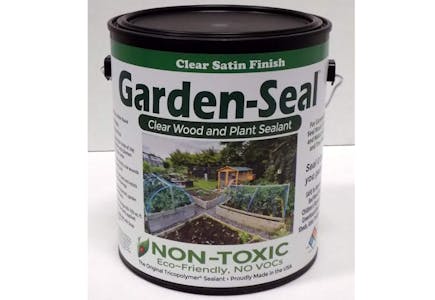
- If you use a soft wood like pine or fir, be sure to seal it or use a garden bed liner so that the wood doesn’t decay.
- You’ll need to treat the wood since it will be outside. Treating doesn’t mean giving it Halloween candy! You need to protect the wood from the weather.
*Pre-treated wood is available at home improvement stores, but sometimes they’re chemically treated. Chemicals and vegetables shouldn’t be edible neighbors.
*In my experience, I bought my lumber raw and painted it with a non-toxic paint for a raised bed vegetable garden. Another natural sealant is linseed oil, which is derived from natural flaxseed. - To find scrap lumber, call local businesses and check online marketplaces like Facebook Marketplace, Nextdoor, and Craigslist to see if anyone is trying to unload any extra materials.
12. Learn how to build a DIY raised garden bed.
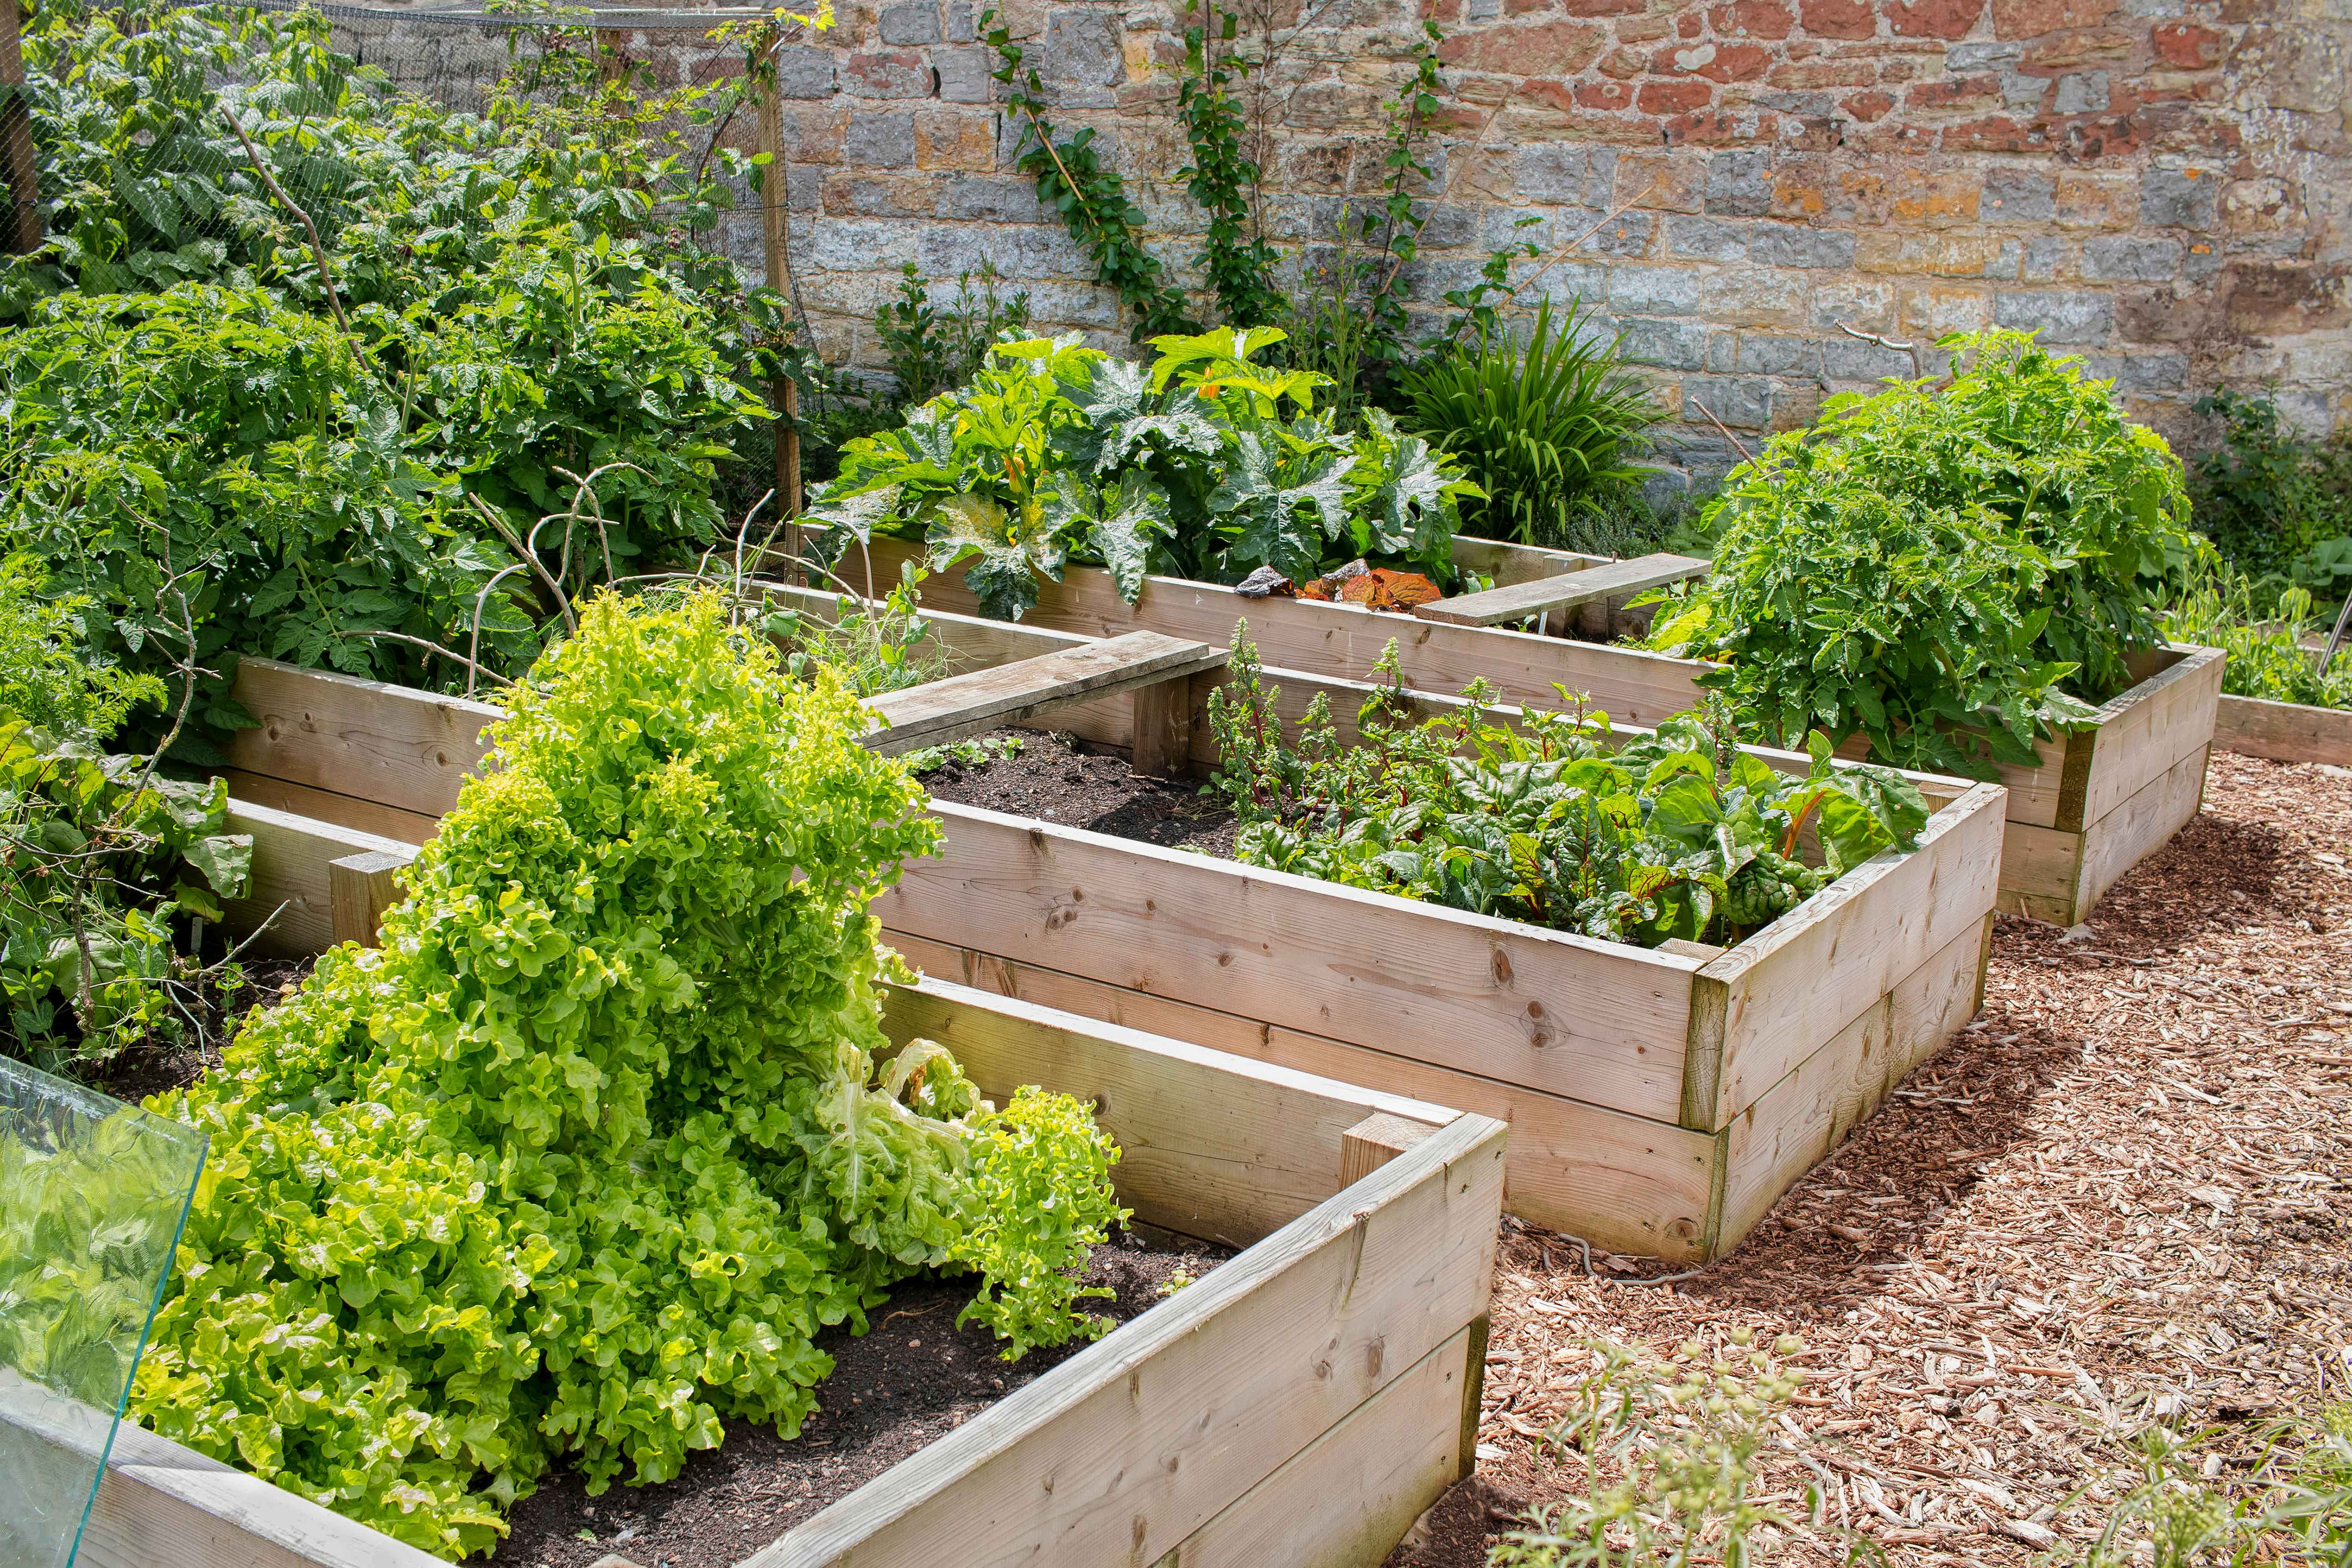
Now that you have an idea of what type of wood is needed, time to build! If you’re wondering how deep a raised garden should be — it’s up to you. Typically, though, a 2′ x 4′ box (at least 12″ deep) provides enough space for a beginner garden for herbs, lettuce, and a couple of vegetables.
Let’s talk construction:
Once you decide on the size of your garden, head to Home Depot and Lowe’s or a lumberyard. They can cut the wood into the lengths you want for free. As long as you’re putting in the request, inquire about what’s used to pre-treat it (if you’re not buying raw). If you tell them you’re using it for a garden, there may be non-toxic alternatives.
With your pre-cut wood, take it home, and treat or stain (mine is a nice brick red) it. Allow 24 hours for it to dry before assembling.
How to build a raised garden bed
For our example, the dimensions of your box are 2 feet x 4 feet (12″ off the ground). To achieve a raised garden bed with these dimensions, you will need the following:
- (2) – 2′ x 4′ wood pieces for the post/legs (make sure your 2′ x 4′ is not bowed or warped, because it will be difficult for the corners of the box to stay true to shape if the wood is compromised.)
- (4) 6″ planks, 1″ thick (96″ long). If cut perfectly, you won’t need the 4th plank, but you need to account for spoilage and waste. If you miter the cuts, you will have more waste.
- (1) 2′ x 4′ sheet of plywood to cover the bottom of the garden
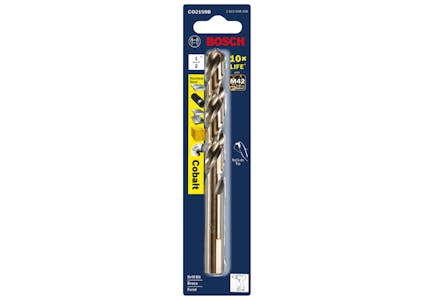
- 1/2″ drill bit (for the drainage holes at the bottom of the box)
- 5/32″ drill bit (for the pilot holes)
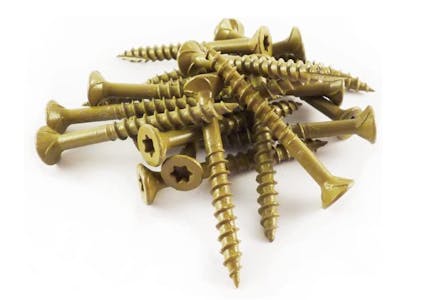
- R4 multi-purpose screws #9 x 2″ (these are treated lumber approved)
- (1) Box of 1.5″ woodworking screws
- Package of #10 flat Metal washers
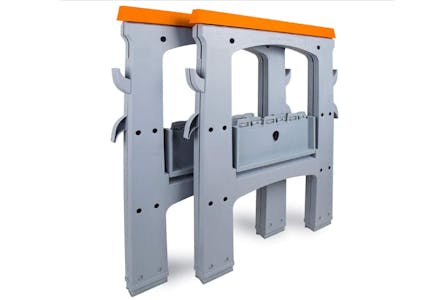
- Sawhorse (for assembly and painting), drills, a human buddy to help, maybe a table saw
- Lay out the cut pieces on a level surface to visualize the box.
- If you’re using corner posts, lay 2 of them out vertically the same distance apart as your shortest side (2′) board. Place the 2′ board on top of the posts horizontally. It will resemble a headboard.
- Use a drill to add the woodworking screws to each end of the board so that 2 corner posts are attached to each 2′ board. The 2 short ends will have 2 corner posts.
- Drill 2 holes at the end of each 4′ plank with a drill bit (you’re drilling a pilot hole, which is a little thinner than the screws).
- Lay out the planks so that each overlaps with the pilot holes at each end.
- Place the washer over the pre-drilled hole, insert the screw, and drive it into the board. The washer prevents the screw head from going too deeply into the board.
- Screw the sides together tightly to secure each side.
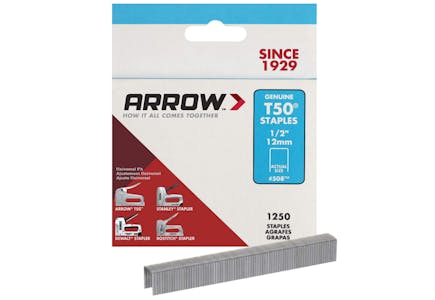
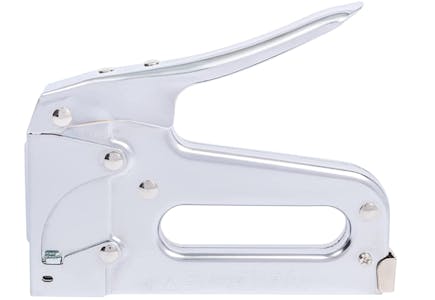
Guess what? You did it. Now, just fill the box with a soil/compost mix and start planting. You can also use a garden liner and staple it to the insides of the box. Use T50 staples and a coordinating T50 stapler.











Tell us what you think