Cooking with an air fryer saves my family a couple of hundred dollars every month. It makes it easy to make meals at home, saving us big bucks on not having to order carryout or eat at a restaurant.
That said, countertop kitchen appliances don’t have the same life span as an oven. But regular maintenance will prolong an air fryer’s life, giving you the most for your money.
Regularly cleaning your air fryer after every use prevents oil and crumb buildup, keeping your favorite countertop appliance working longer. But with doors and drawers and racks (oh my!), what’s the best way to clean an air fryer? We break down exactly how to clean an air fryer — including the basket and tray — in four easy steps.
Also, with Black Friday sales coming up, don’t forget to text BLACKFRIDAY to 57299 and receive real-time text alerts when deals go live.
Download The Krazy Coupon Lady app so you never miss out on the best tips and discounts.
Step One: Clean the Air Fryer Basket
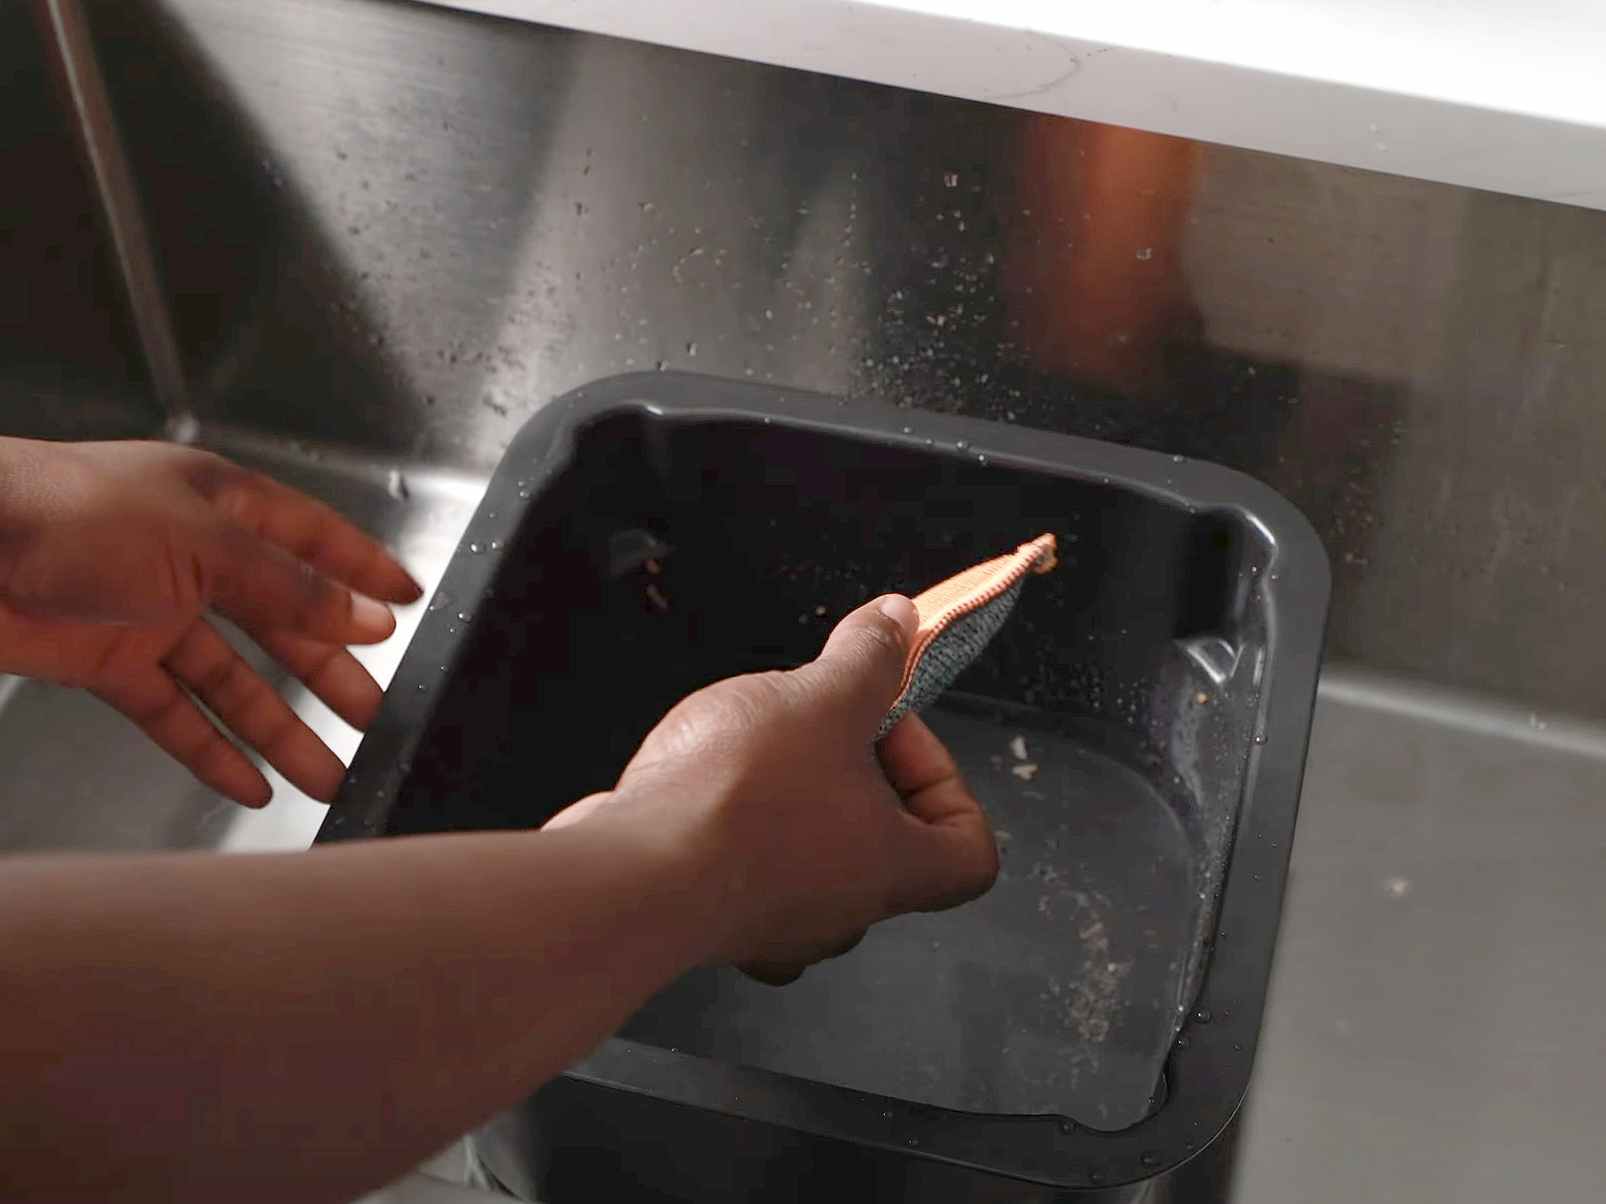
Start by using a paper towel to wipe up any grease or large chunks of food that are in the air fryer basket. Next add some dish soap and hot water and let the air fryer basket soak for a few minutes.
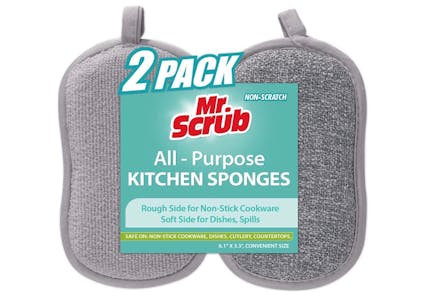
Then use a microfiber cloth or soft sponge to clean the air fryer basket. Warning: never use a metal scraper or steel wool on the air fryer basket. Many are covered in a nonstick coating, so you don’t want to scratch that protective layer.
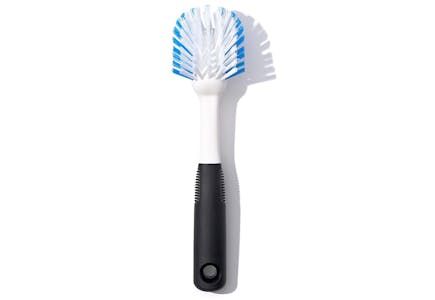
If there are hard-to-remove spots in the air fryer basket, you can let it soak in soapy hot water for up to 30 minutes. Afterward, use a soft bristle brush to scrub off baked-on residue.
Quick cleaning hack: you could also use lemon to clean an air fryer basket, especially if you have hard-to-remove residue. Cut a lemon in half and rub it on the residue. Let it sit for up to 30 minutes before scrubbing with a soft sponge.
Step Two: Clean the Air Fryer Crisper Tray
One thing we love about the air fryer is that it gets our food nice and crispy without having to deep fry it, but those crisper trays also get a lot of gunk stuck to them. Similar to the basket, first wipe off grease and big crumbs with a paper towel. Then soak the crisper tray in hot soapy water.
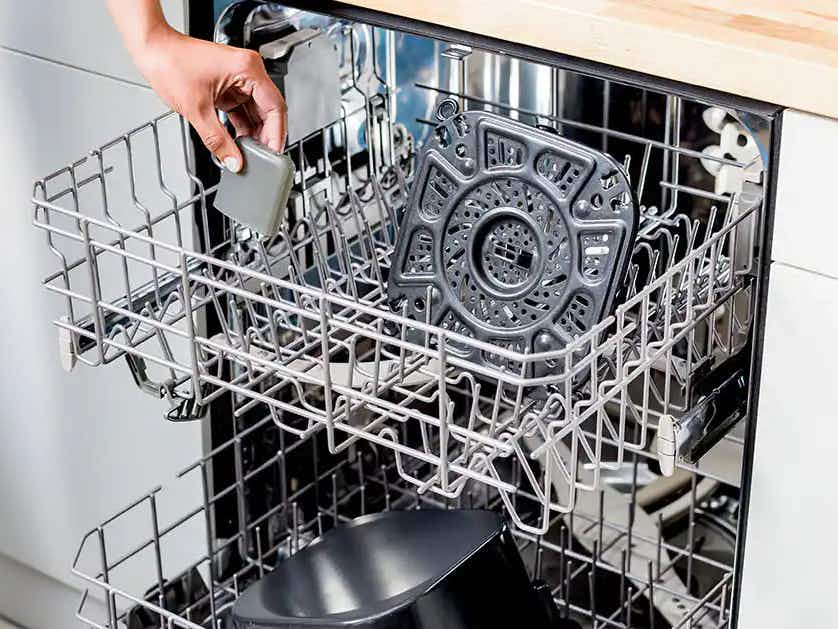
Some air fryer crisper trays are dishwasher safe. Before running yours through the cycle, check the owner’s manual of your appliance to make this applies to your own.
If you’re washing the crisper tray by hand and have a lot of holes and grooves to clean, try using a wooden skewer to get into hard-to-reach places. You could also use a soft bristle brush to clean the crisper tray.
Once again, lemon is a great way to cut through the grime and loosen tough baked-on stains. Apply a cut lemon to the crisper tray and let it sit for 10 minutes, then scrub it again with the sponge or soft bristle brush.
Step Three: Clean the Main Unit of an Air Fryer
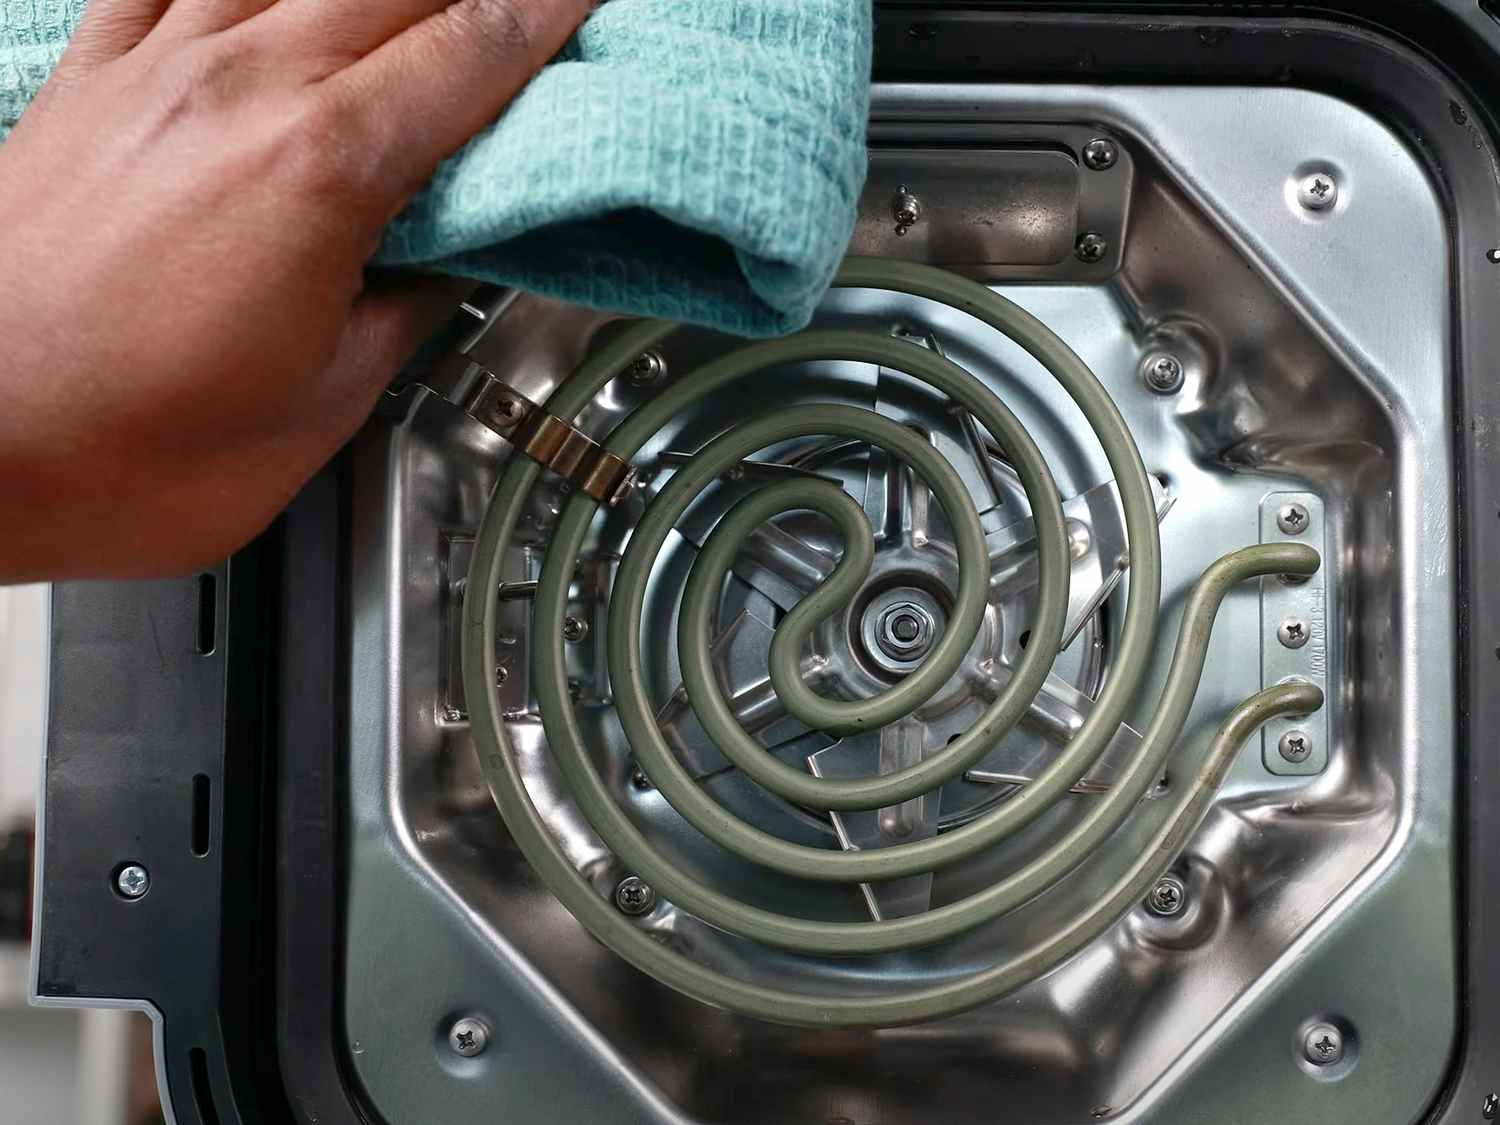
One area people often forget to clean is the inside of the air fryer’s main unit. This is where the heating element lives, and it often gets splashed with grease during the cooking process. Grease that gets left inside the air fryer can burn the next time you use it, creating smoke or an unpleasant scent or taste. If the inside of the air fryer goes without a good cleaning for several uses, it can become a fire hazard.
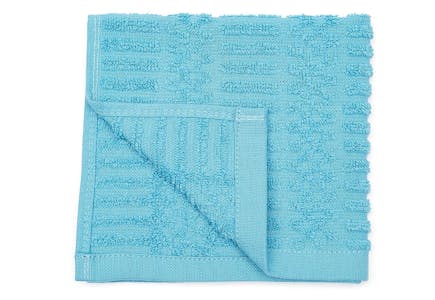
After every use, unplug the air fryer and allow it to cool. In the meantime, wipe down the outside of the main unit with a damp cloth.
Warning: Never submerge the main unit in liquid or put the main unit in the dishwasher. The main unit contains electrical components, and contact with water could lead to permanent damage.
Once the unit is completely cool to the touch, use a damp soapy sponge or cloth to wipe down the inside of the air fryer. Also, wipe down the walls and the heating element.
TIP: Flip the air fryer upside down to easily reach and wipe down the heating element.
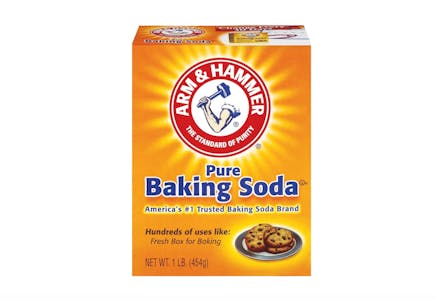
If there’s a lot of baked-on residue, you might want to make a paste with baking soda and water, then use a sponge to apply the paste to the inside of the air fryer. Let it sit in the air fryer for up to 10 minutes, and then wipe it out with a clean, damp sponge.
Step Four: Dry All Parts of the Air Fryer
After cleaning the main unit, air fryer basket, and crisper trays, dry them all thoroughly with a clean cloth. You could also let them air dry, but you don’t want to reassemble the air fryer until all units are completely dry. If you don’t wait, the extra moisture can lead to bacteria growth or rusting.













Tell us what you think